Workspaces, roles and people
Keep teams separate, give each person only the access they need, and know who can change what.
On this page
Organisations and workspaces#
When you sign up, Cadrix creates an organisation for your company and a first workspace named Personal Workspace. You are the organisation owner.
- An organisation is your company. Plans, limits and billing belong to the organisation.
- A workspace is a separate space for one team. Each workspace has its own members, workflows and policies. Separate teams, data and spend by giving each its own workspace.
- A person has a role in each workspace they belong to, and that role applies inside that workspace only.
Create a workspace#
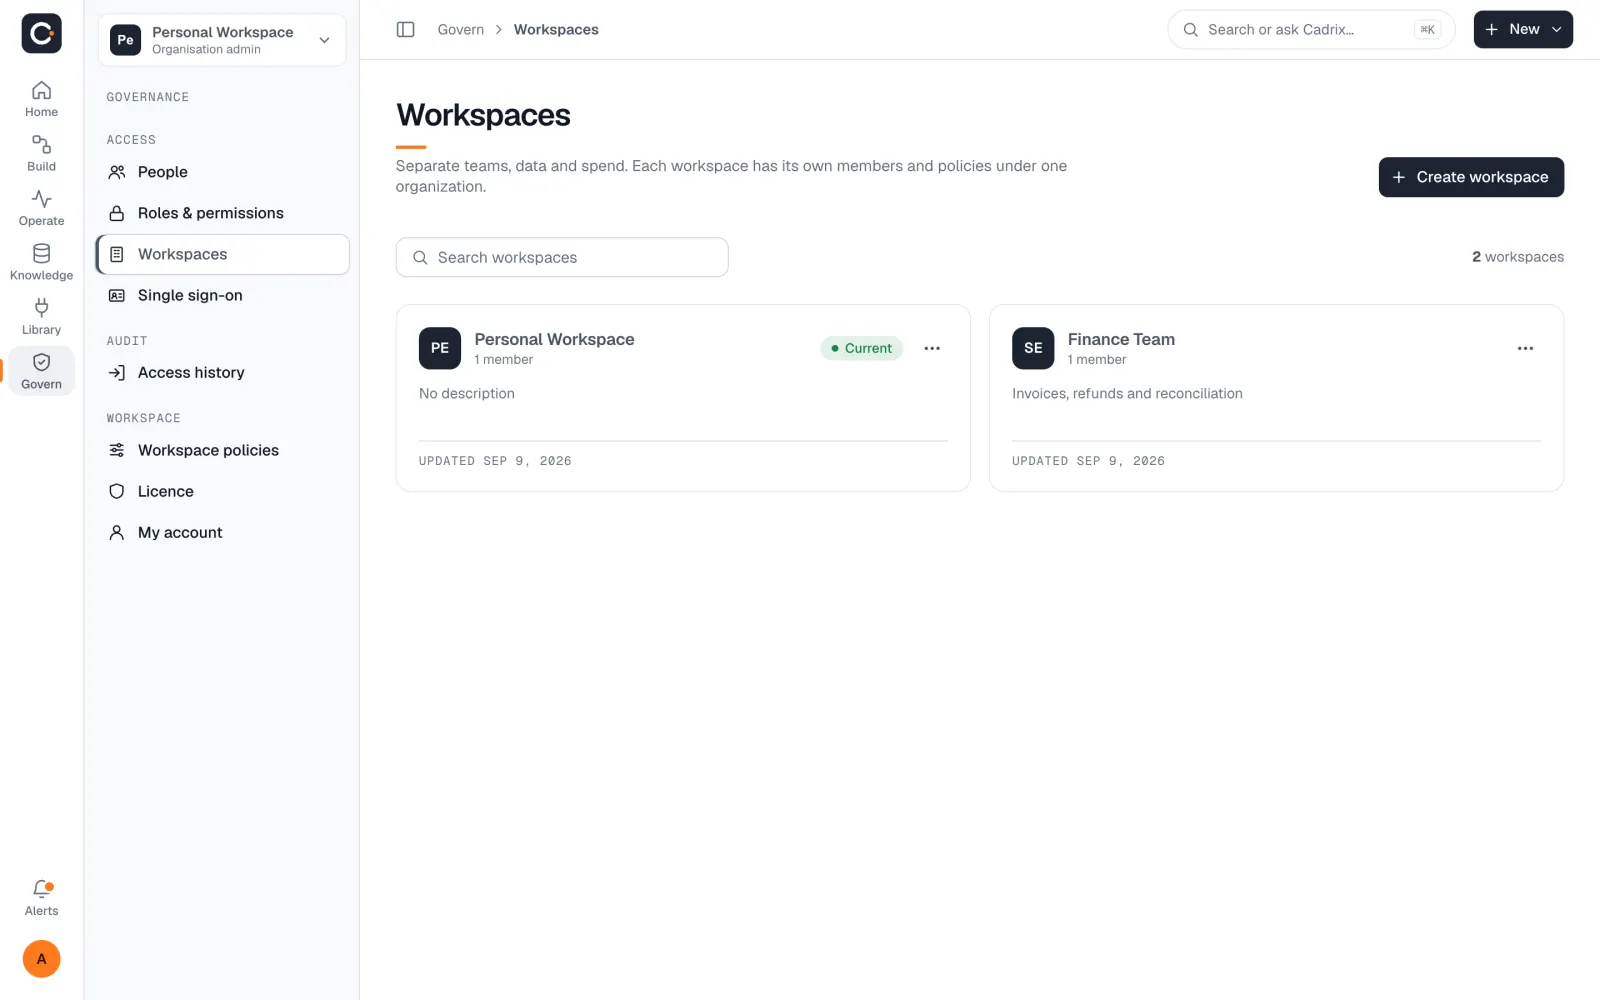
Open Govern → Workspaces and choose Create workspace.
Enter a name, for example Legal & Compliance, and a Purpose such as What will this team automate?. The names Default Workspace and Personal Workspace are reserved.
Save. The new workspace appears as a card. Use the card's menu to edit or delete it.
Switch workspace#
The workspace name sits at the top of the left-hand panel. Select it to switch. The workspace you are in is marked Current on the Workspaces page.
Built-in roles#
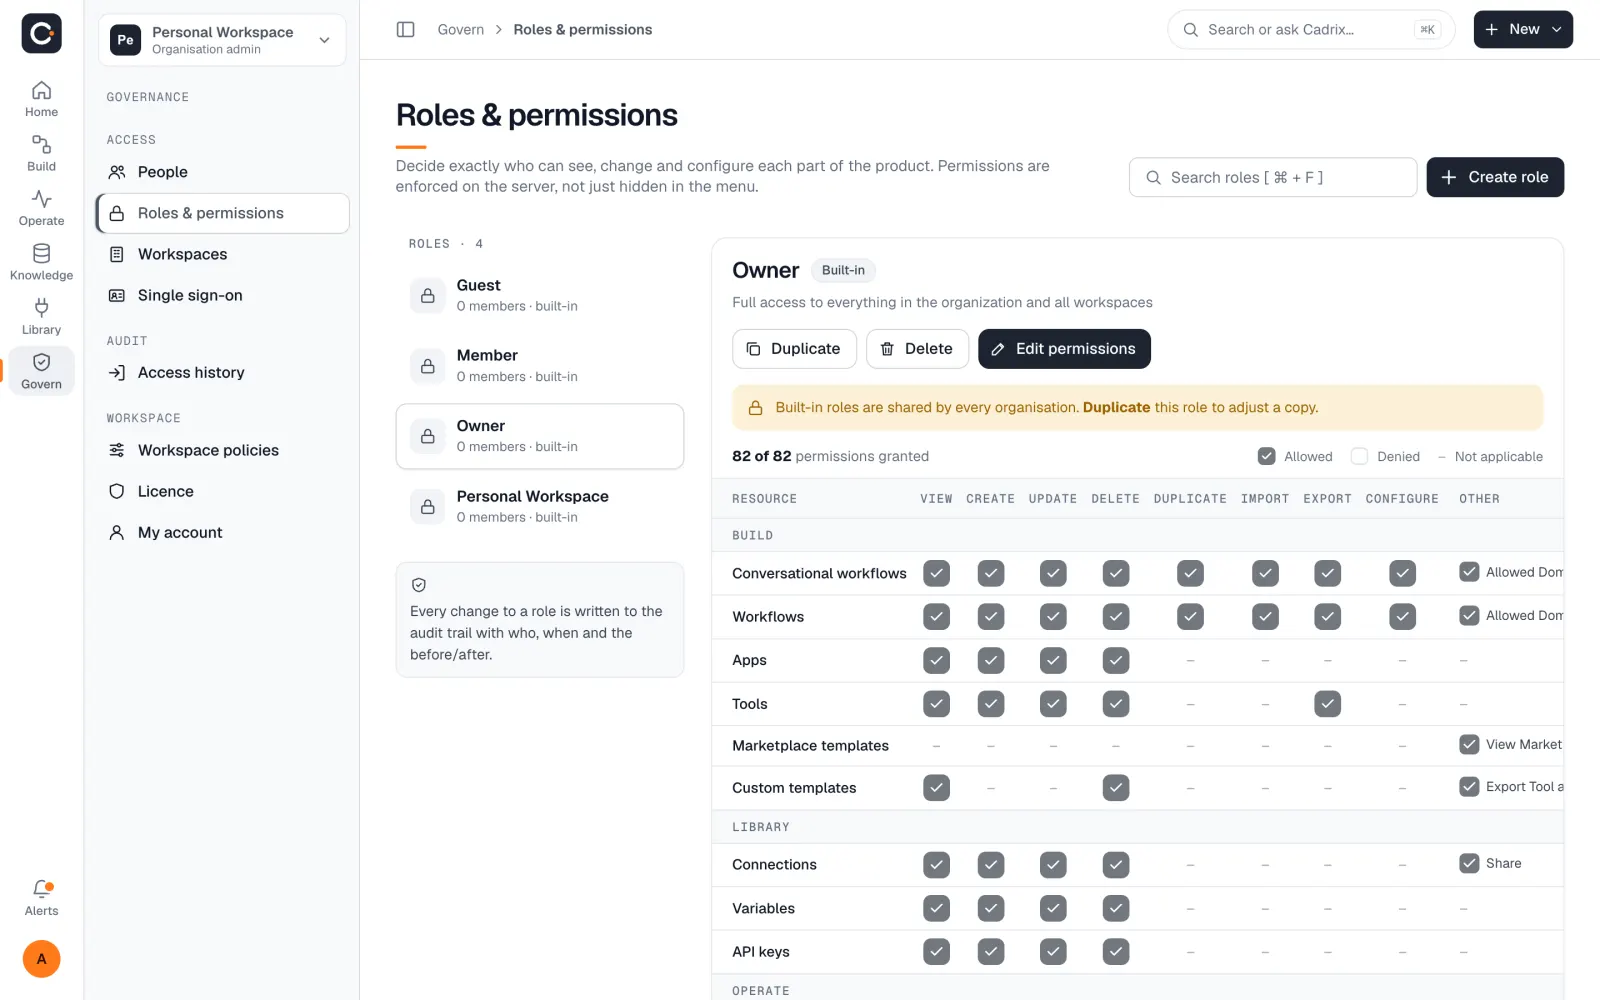
Every organisation has four built-in roles. They are shared by all organisations and cannot be edited or deleted.
| Area | owner | member | personal workspace | guest |
|---|---|---|---|---|
| Build: workflows, apps, tools, templates | Full | Full | Full | View only |
| Library: connections, variables, API keys | Full | Full | Full | View only |
| Runs (view, delete) | Full | Full | Full | View only |
| Virtual databases, datasets, criteria, results | Full | Full | Full | View only |
| Workspaces (create, update, add or remove people, delete) | Yes | No | No | No |
| People and roles (manage) | Yes | No | No | No |
- owner
- Full access to everything in the organisation and all workspaces.
- member
- A standard workspace member. Can use resources, but cannot manage the organisation, people or roles.
- personal workspace
- The sole occupant of a personal workspace. It has the same permissions as member.
- guest
- Read-only access.
Invite people#
There are two ways to bring someone in. Both need permission to manage people or workspaces, which the owner role has.
Invite by email to a workspace#
Open Govern → Workspaces, choose the workspace, and open its members.
Choose to invite people. In Invite people, search for people or type an email address. A new address shows that an invitation will be sent to it.
Pick the Workspace and the Role. They only see the workspace you select here.
Choose Send invitations.
The invitation email says who invited them, to which organisation, and its link works for 24 hours. Until they accept, the person shows as invited. You can Edit invitation or Cancel invitation, change a member's role with Change role, or use Remove from workspace.
Add a person directly#
Under Govern → People, choose Add person. Enter their name, email and a password. This creates an active account that can sign in right away. On the People page a person is Active (can sign in), invited (not yet accepted) or Inactive (sign-in blocked). Set someone to inactive by editing them. The status of the organisation owner cannot be changed.
Starter includes 1 member, Pro 3 and Team 50. When you reach the limit, adding or inviting someone shows a plan-limit message. See Billing and plans.
Roles and the permission matrix#
Permissions are enforced by the server, not just hidden in the menu. They are grouped into areas and actions. The matrix on the Roles & permissions page has one row per area and one column per action: View, Create, Update, Delete, Duplicate, Import, Export and Configure.
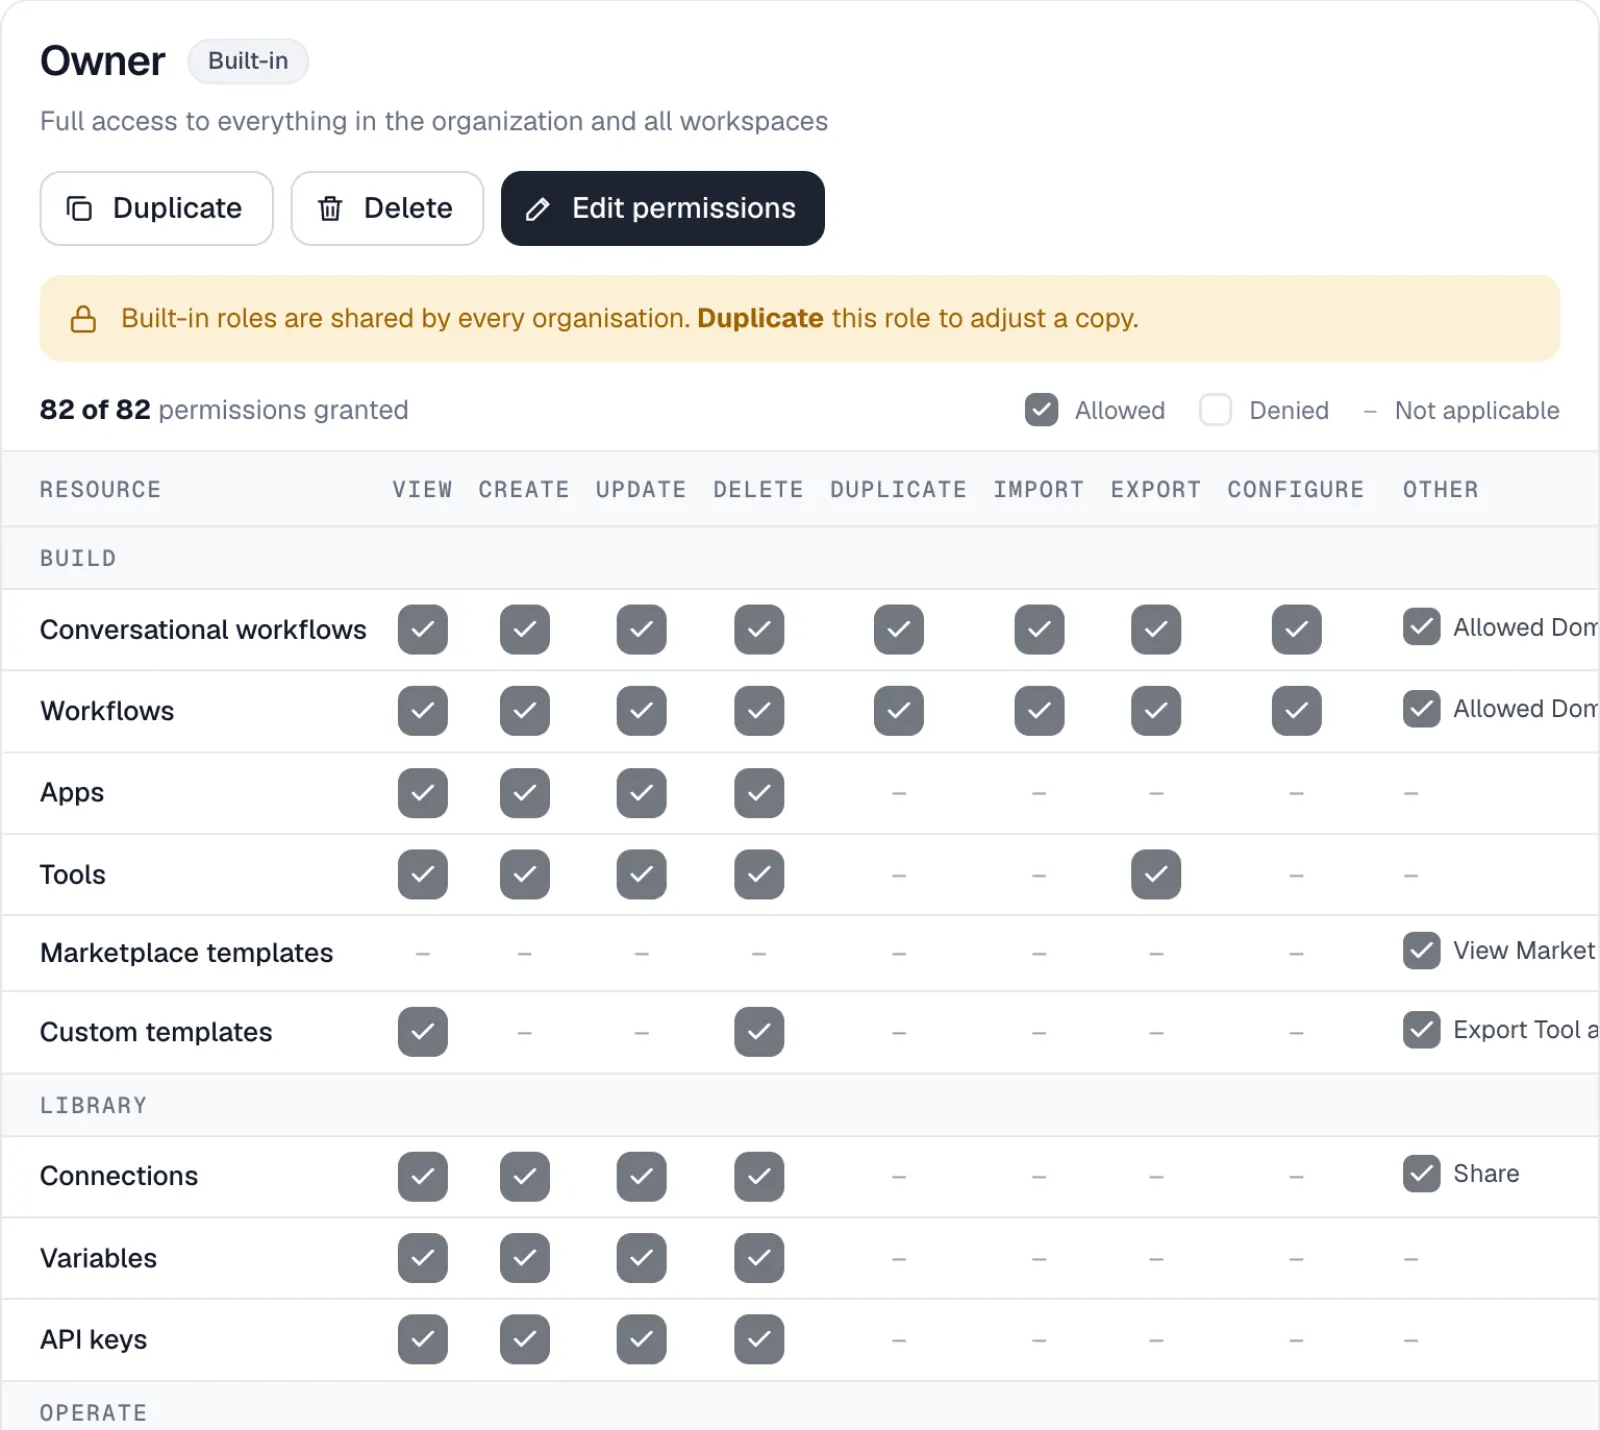
The areas are, by group:
- Build: Conversational workflows, Workflows, Apps, Tools, Marketplace templates, Custom templates.
- Library: Connections, Variables, API keys.
- Operate: Runs.
- Knowledge & quality: Virtual databases, Datasets, Criteria, Results.
- Administration: Workspace, People, Roles.
Granting any action in an area also grants View for it, because you cannot change what you cannot see.
Custom roles#
Custom roles let you grant exactly the permissions a job needs, for example a role that can run and view workflows but cannot see API keys.
Open Govern → Roles & permissions.
Choose Create role, or duplicate a built-in role to start from a copy.
Enter a name and a description, tick the permissions in the matrix, and choose Create role.
Assign the role when you invite someone or change their role.
Custom roles are not included on Starter or Pro. On those plans the Roles & permissions page is not available, and trying to use it shows that Custom roles is available on the Team plan and above. See Billing and plans.
A role cannot be deleted while people still hold it. Remove them from the workspace or change their role first. Single sign-on and access history (a record of sign-ins) are available on Enterprise. Contact us for details.
Workspace policies#
Govern → Workspace policies holds rules that apply to every workflow in a workspace. Today that is the default error workflow described in Handle failures. Switch workspace to edit another workspace's policies.